Internet Download Manager 6.07 Build 15 Final - Multilingual - Full
Incl. New Crack SND
Released: November 14, 2011
Internet Download Manager : The fastest download accelerator
Internet Download Manager (IDM) is a tool to increase download speeds by up to 500 percent, resume and schedule downloads. Comprehensive error recovery and resume capability will restart broken or interrupted downloads due to lost connections, network problems, computer shutdowns, or unexpected power outages. Simple graphic user interface makes IDM user friendly and easy to use.
Internet Download Manager has a smart download logic accelerator that features intelligent dynamic file segmentation and safe multipart downloading technology to accelerate your downloads. Unlike other download accelerators and managers that segment files before downloading starts, Internet Download Manager segments downloaded files dynamically during download process. Internet Download Manager reuses available connections without additional connect and login stages to achieve better acceleration performance.
Internet Download Manager supports proxy servers, ftp and http protocols, firewalls, redirects, cookies, directories with authorization, MP3 audio and MPEG video content processing, and a large number of directory listing formats. IDM integrates seamlessly into Microsoft Internet Explorer, Netscape, MSN Explorer, AOL, Opera, Mozilla, Mozilla Firefox, Mozilla Firebird, Avant Browser, MyIE2, and all other popular browsers to automatically handle your downloads. You can also drag and drop files, or use Internet Download Manager from command line. Internet Download Manager can dial your modem at the set time, download the files you want, then hang up or even shut down your computer when it's done.
Key features of Internet Download Manager:
* All popular browsers and applications are supported! Internet Download Manager supports all versions of popular browsers, and can be integrated into any 3rd party Internet applications.
* Download with one click. When you click on a download link in a browser, IDM will take over the download and accelerate it. IDM supports HTTP, FTP and HTTPS protocols.
* Download Speed. Internet Download Manager can accelerate downloads by up to 5 times due to its intelligent dynamic file segmentation technology.
* Download Resume. Internet Download Manager will resume unfinished download from the place where they left off.
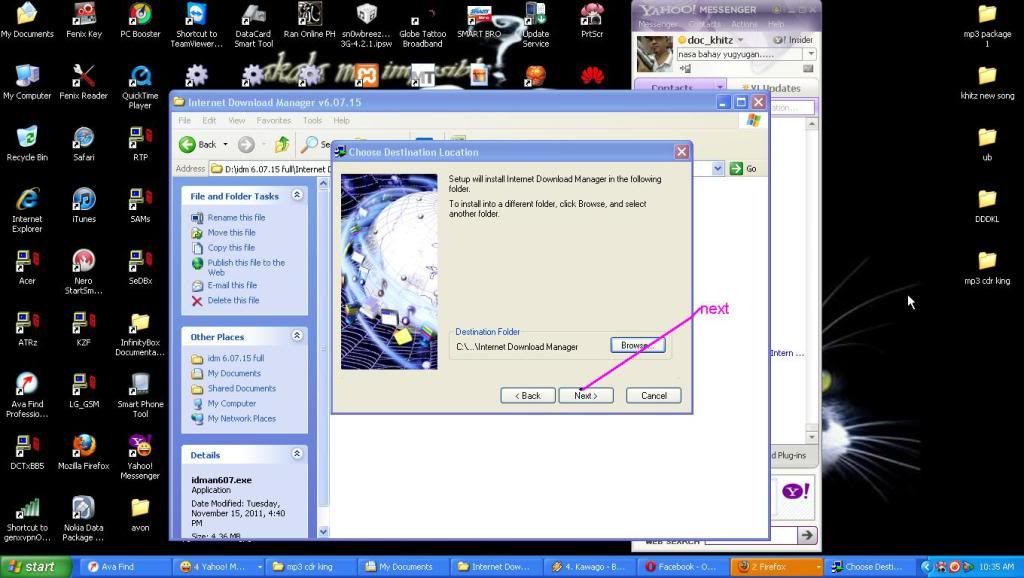
* Simple installation wizard. Quick and easy installation program will make necessary settings for you, and check your connection at the end to ensure trouble free installation of Internet Download Manager
* Automatic Antivirus checking. Antivirus checking makes your downloads free from viruses and trojans.
* Advanced Browser Integration. When enabled, the feature can be used to catch any download from any application. None of download managers have this feature.
* Built-in Scheduler. Internet Download Manager can connect to the Internet at a set time, download the files you want, disconnect, or shut down your computer when it's done.
* IDM supports many types of proxy servers. For example, IDM works with Microsoft ISA, and FTP proxy servers.
* IDM supports main authentication protocols: Basic, Negotiate, NTLM, and Keberos. Thus IDM can access many Internet and proxy servers using login name and password.
* Download All feature. IDM can add all downloads linked to the current page. It's easy to download multiple files with this feature.
* Customizable Interface. You may choose the order, and what buttons and columns appear on the main IDM window.
* Download Categories. Internet Download Manager can be used to organize downloads automatically using defined download categories.
* Quick Update Feature. Quick update may check for new versions of IDM and update IDM once per week.
* Download limits. Progressive downloading with quotas feature. The feature is useful for connections that use some kind of fair access policy (or FAP) like Direcway, Direct PC, Hughes, etc.
* Drag and Drop. You may simply drag and drop links to IDM, and drag and drop complete files out of Internet Download Manager.
* IDM is multilingual. IDM is translated to Arabic, Bosnian, Bulgarian, Chinese, Croatian, Czech, Danish, Dutch, French, German, Hungarian, Italian, Japanese, Lithuanian, Macedonian, Polish, Portuguese, Romanian, Russian, Slovenian, Spanish, Thai languages.
What's new in version 6.07 Build 15:
* Added support for Firefox 9
* Fixed bugs
Multilingual: English, Spanish, French, Italian, Deustch, Japanese, Portugues, etc
Compatible with: Windows 95/98/Me/2000/NT/XP/2003/Vista/Server 2008/7 (32/64-bit)
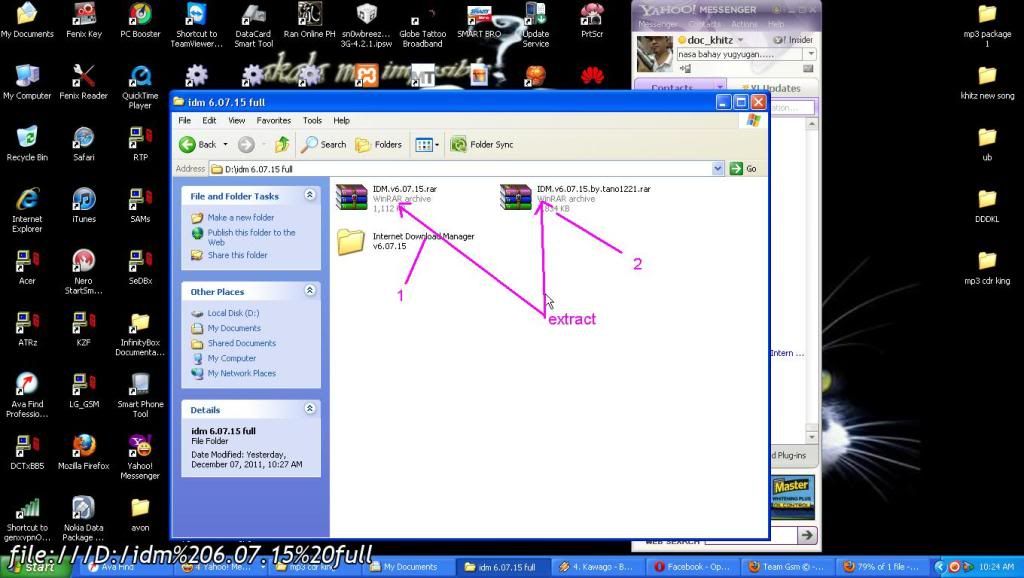
TUTORIAL
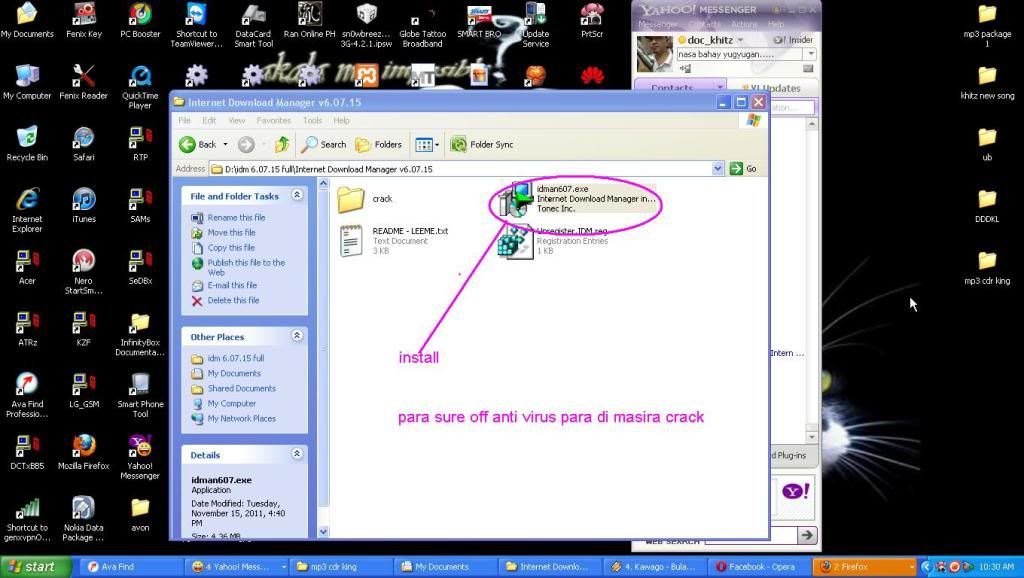
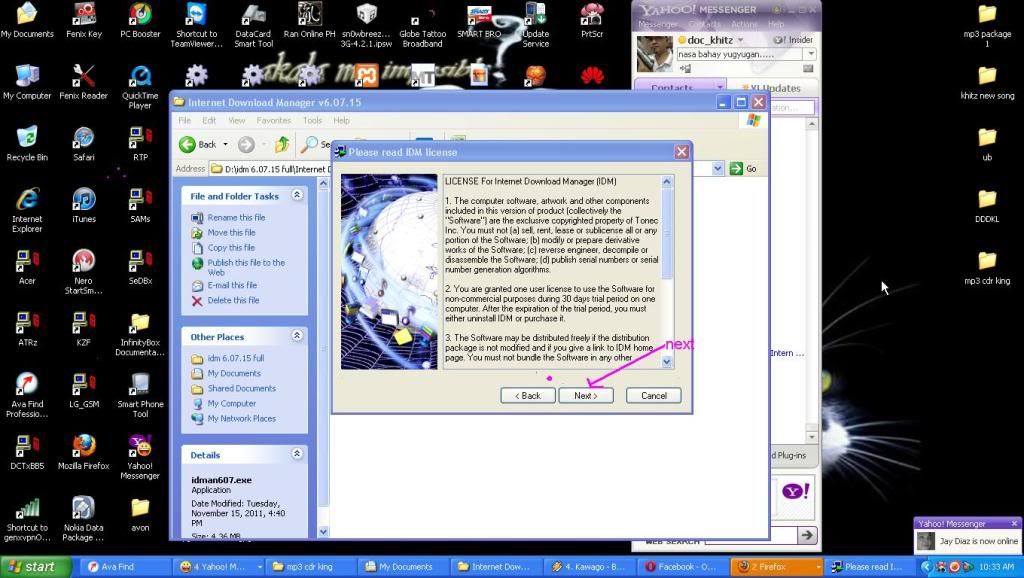
>run set up(install)
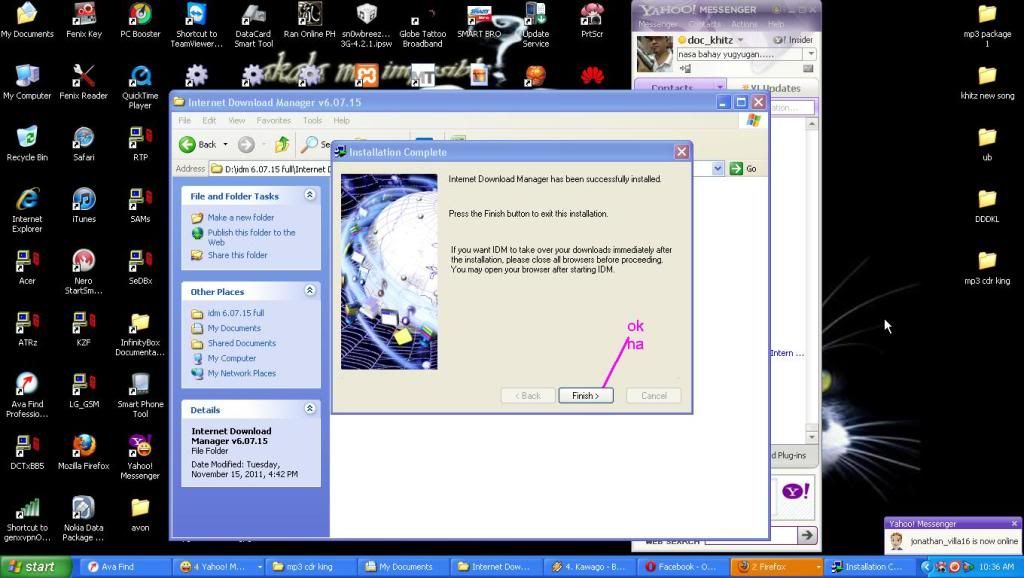
(after installation)
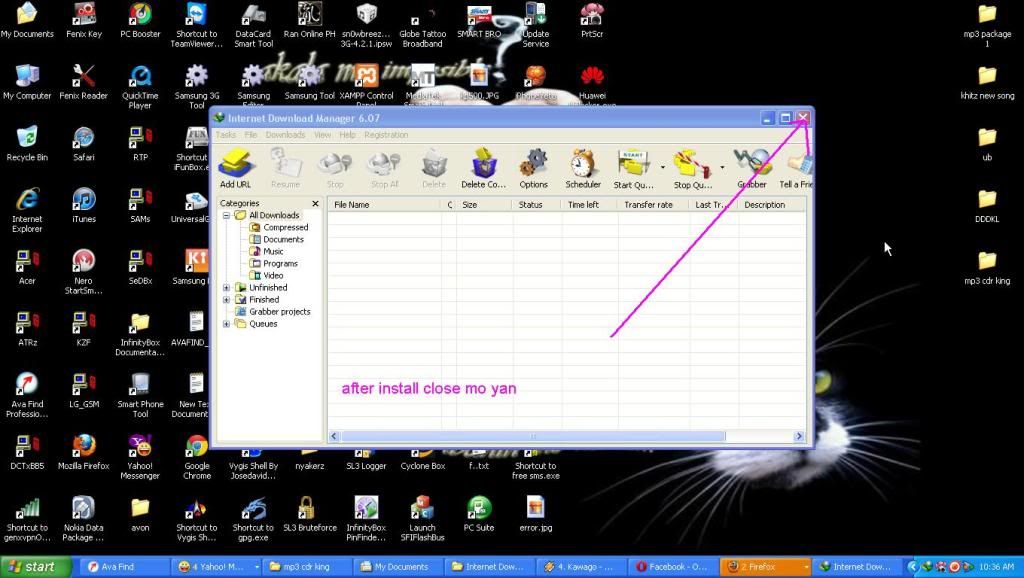
>Close IDM (make sure it is not running
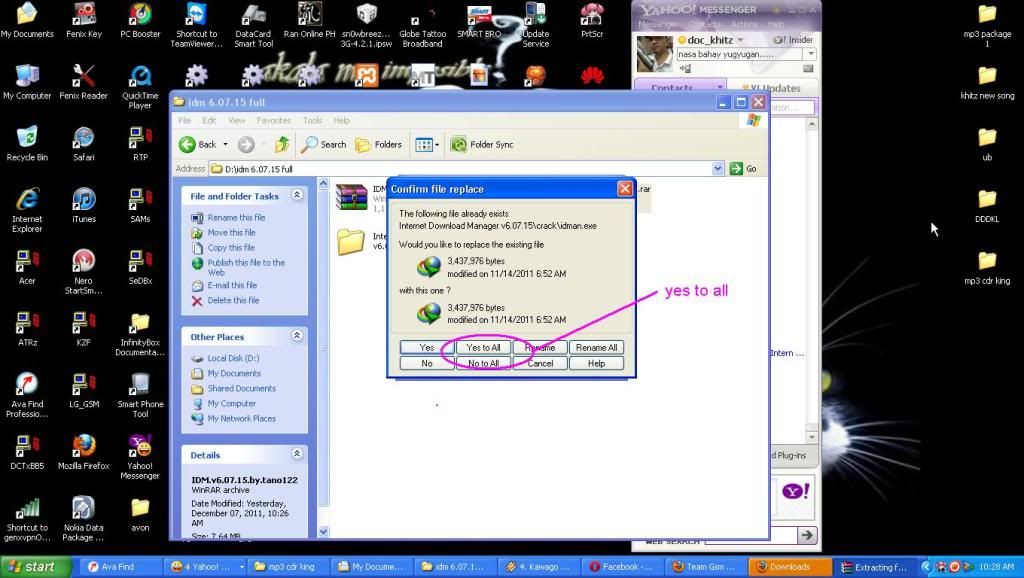
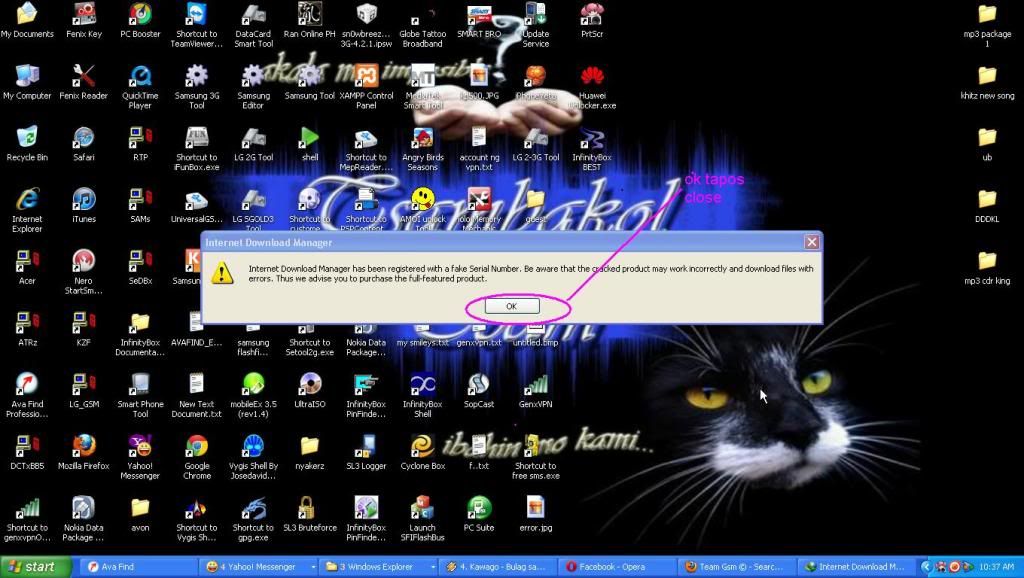
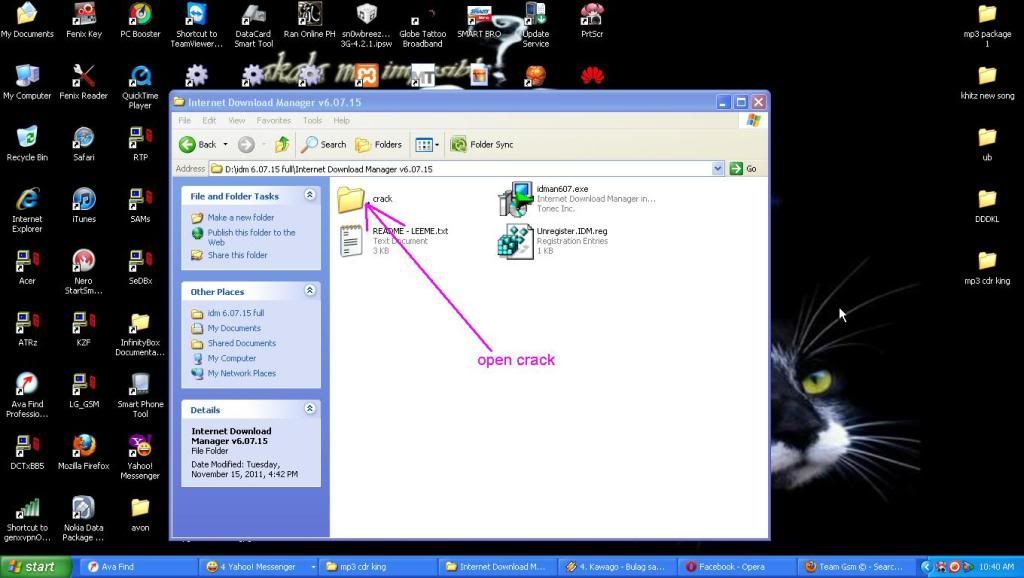
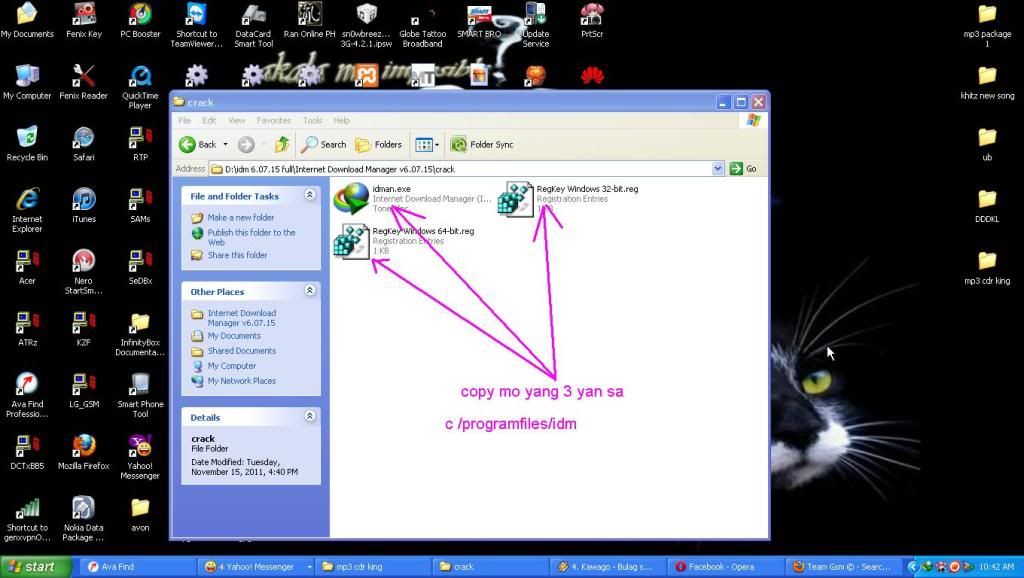
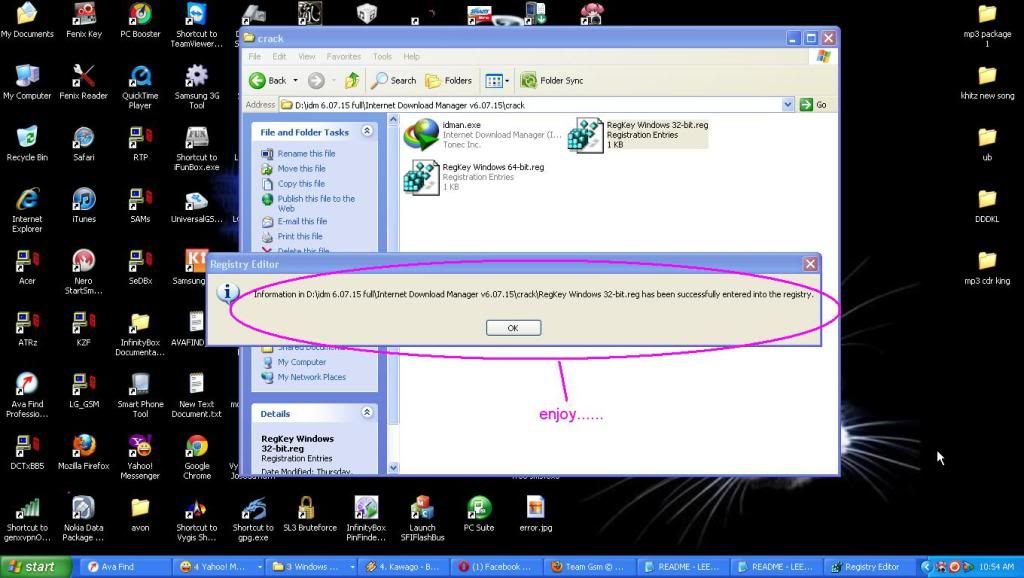
>Copy the 2 Files From the Crack Folder
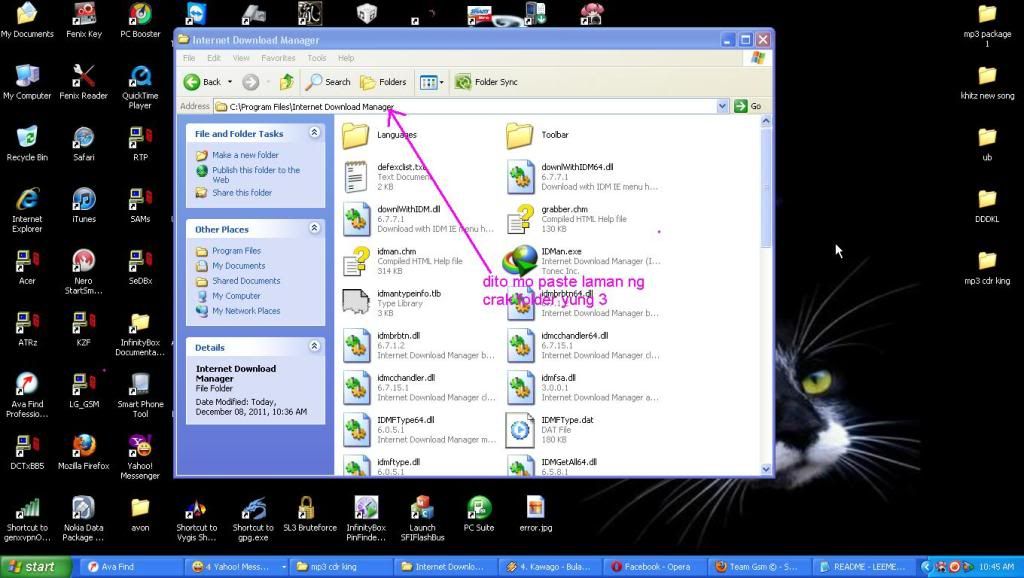
>Paste it on your Program Files/InternetDownload Manager
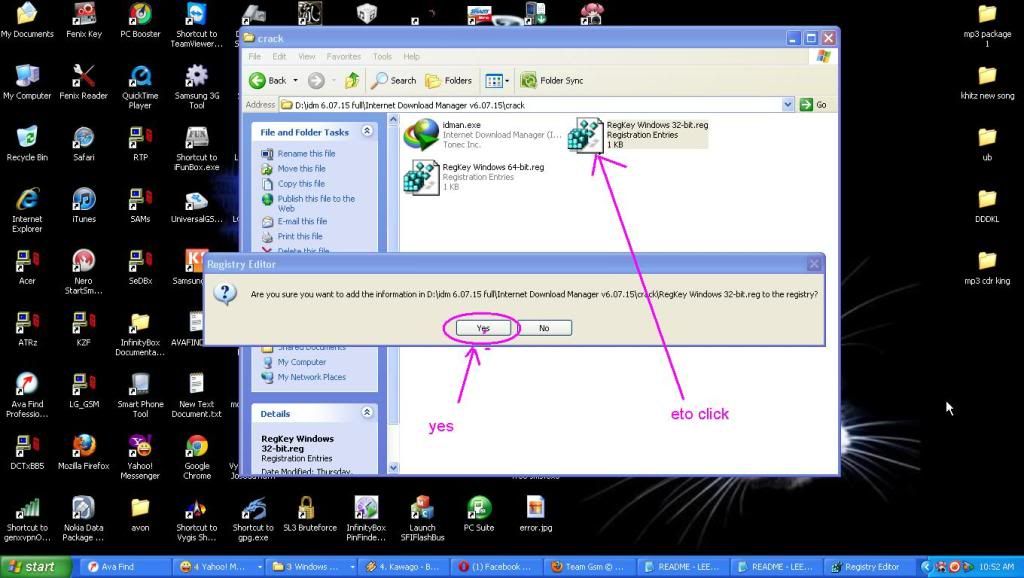
>Run the 1 file that u pasted, "RegKey Windows 32"(if you are running in a 32bit)
>run IDM
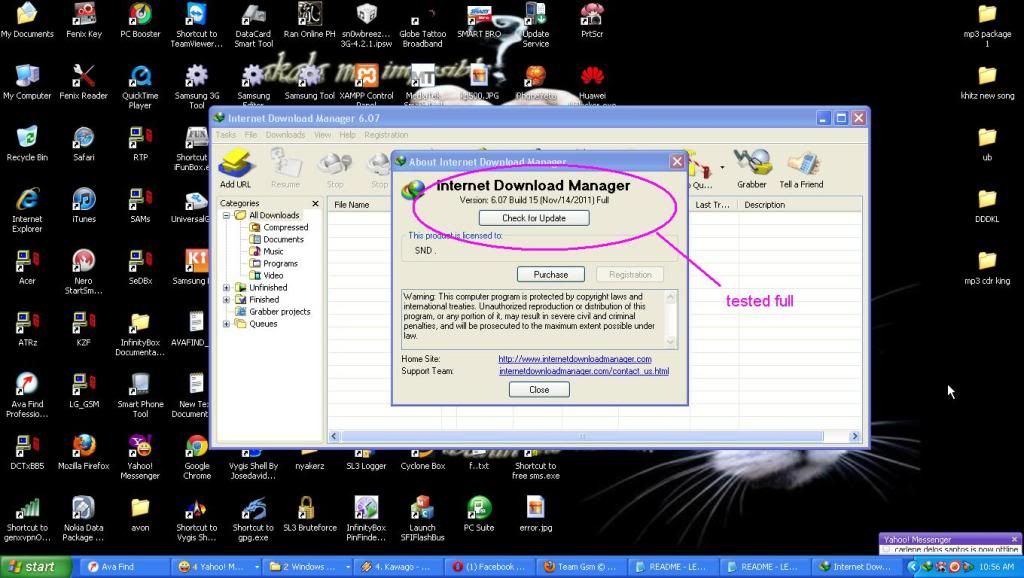
>on IDM go to HELP>About IDM>check if the Product is registered to SND
>DONE
download here...just copy paste the link to your browser...
http://www.4shared.com/file/8rbYMwWA/idm_60715_full.html